 "StudyStudyStudy" (jesterjin)
04/30/2015 at 14:15 ē Filed to: 240z, project car
 8
8
 26
26
 "StudyStudyStudy" (jesterjin)
04/30/2015 at 14:15 ē Filed to: 240z, project car |  8 8
|  26 26 |
Friends got me a gift card for christmas, which I spent on Z stuff.
I ordered a mirror through a major supplier after looking at prices online. 1 was going for 20$ so I figured the 40$ price on the website meant I would be receiving two. Nope, they just charge twice as much for the same mirror as evident by this mirror purchased from a non major supplier also BNIB.
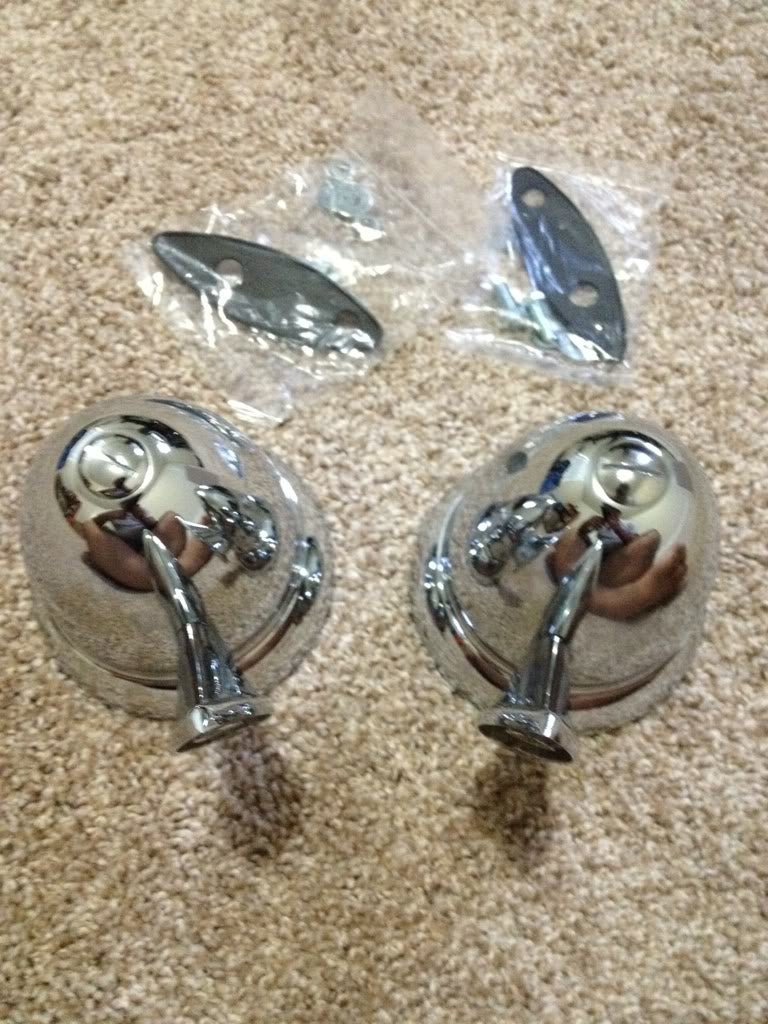
Spot the difference? Neither can I
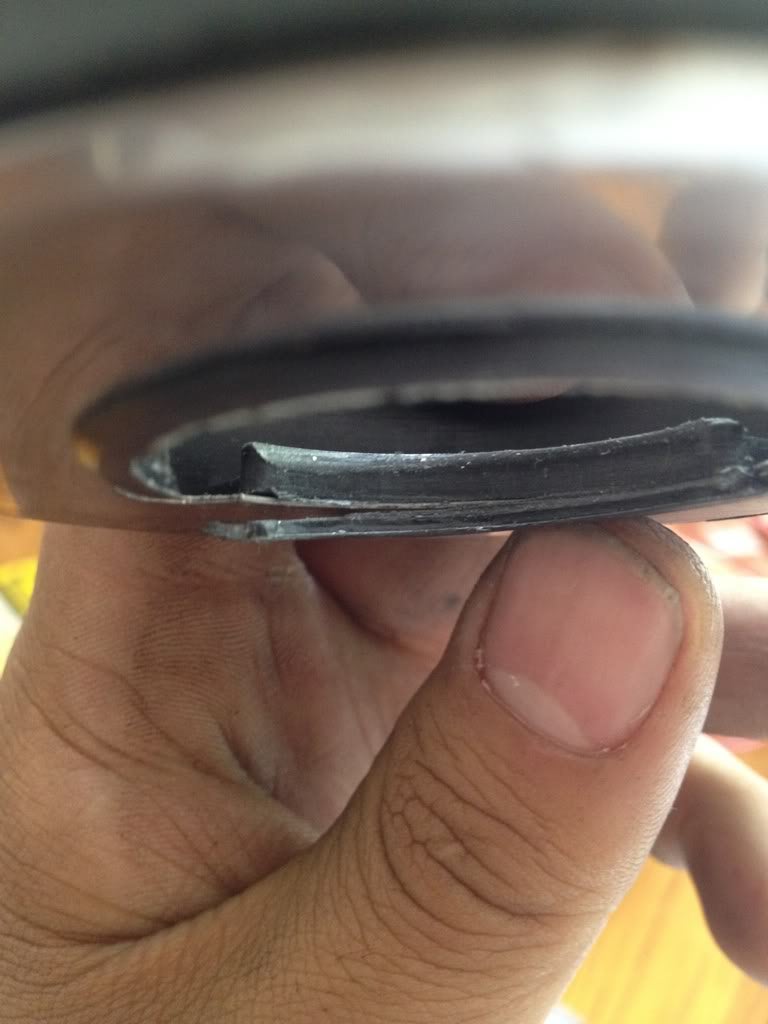
I had wired up the horn with a new relay, but it seemed like it didnít want to work. So I went back to the 40 year old relay, and it did. Unfortunately, it decided to keep on working. I scrambled around until I could pull the power from the relay. Turns out my hub adapter had cracked and was supplying a constant signal. A little bit of electrical tape remedied that problem.
Iíve been stalling long enough, onto the engine stuff!
So sandblasting soft aluminum parts with mating surfaces is frowned upon, so I decided for a more friendly approach with soda blasting.
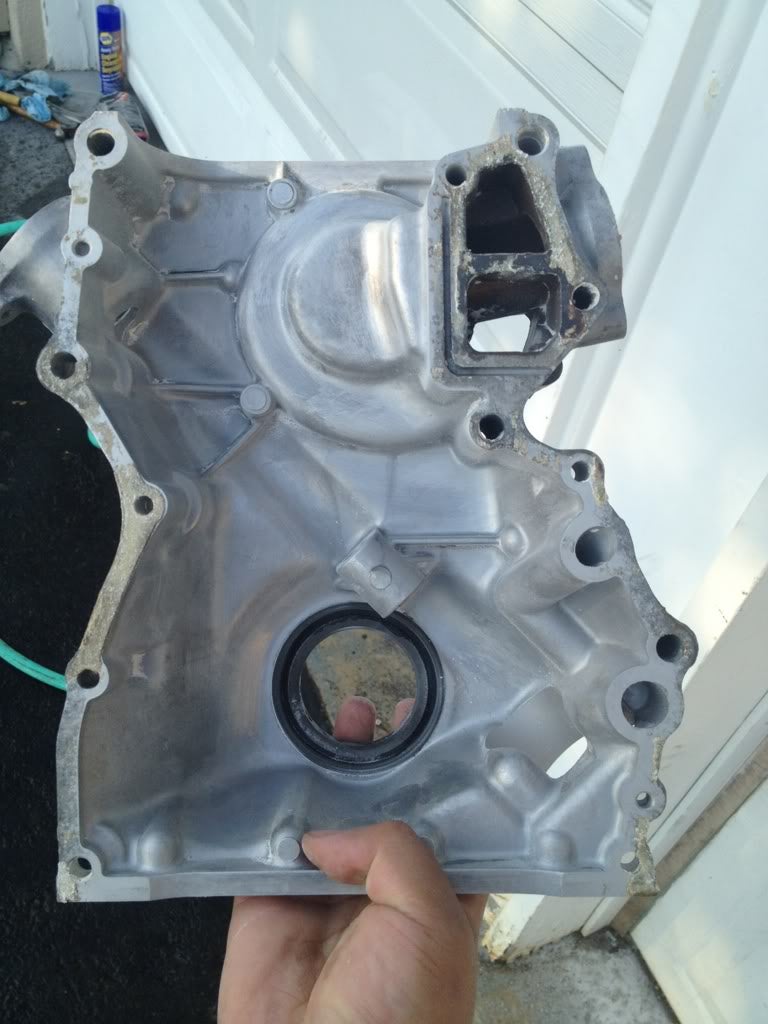
The results are quite nice, 40 years of grime blasted off, but soft enough to leave gasket remnants.
I would advise some covering as just the timing cover left me with quite a sleeve.
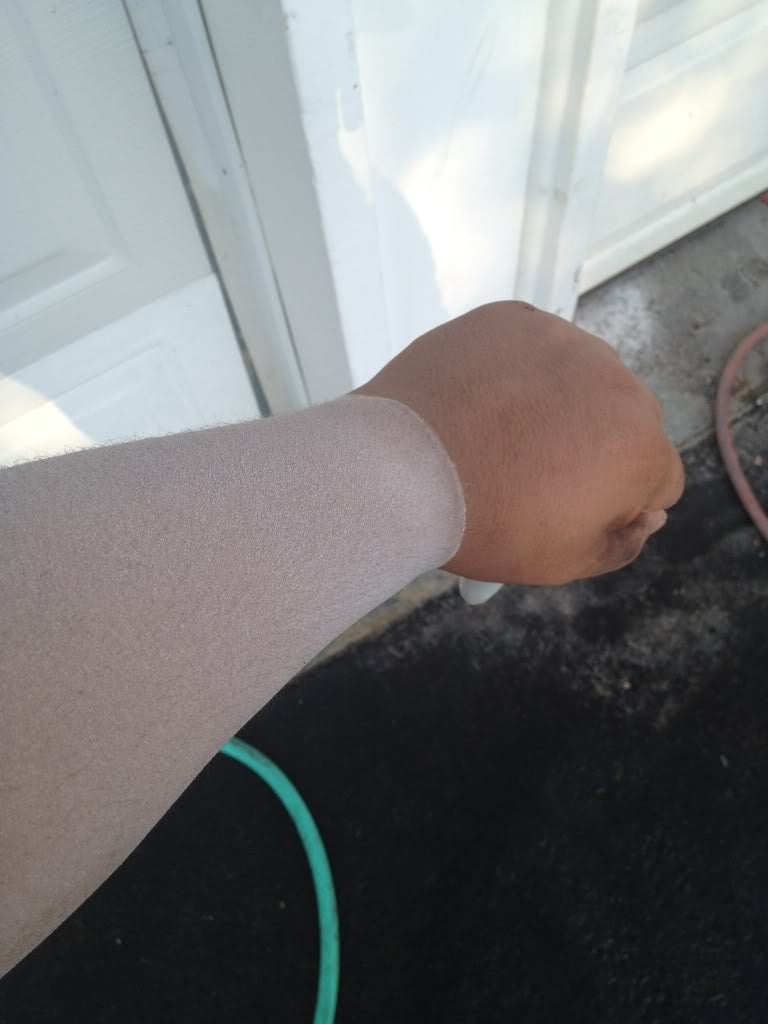
^Thatís all baking soda.
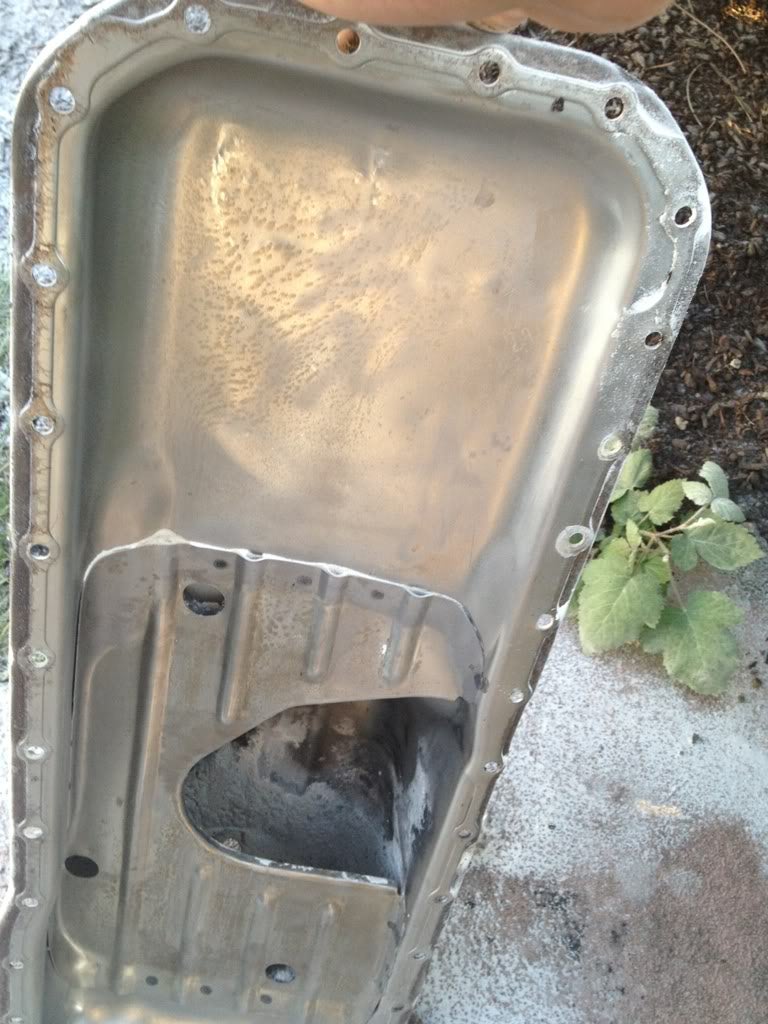
The oil pan got the same treatment, after a thurough rinsing, I sprayed WD40 to prevent it from rusting. I would eventually rinse it out with oil before attaching it to the motor.
Taking an engine apart is easy especially if you are taking it completely apart. Once again making sure to label everything and having new parts/replacement parts ON HAND is KEY. Waiting for a single part when you need it will totally kill the speed of the rebuild.
The head came off the block and was disassembled and driven down a ways for machine work. The local shop wanted 700 for a rebuilt head, I went out a bit further from the city and got a nice price of 250 for valve regrind, decking, cleaning, reassembly minus cam towers.
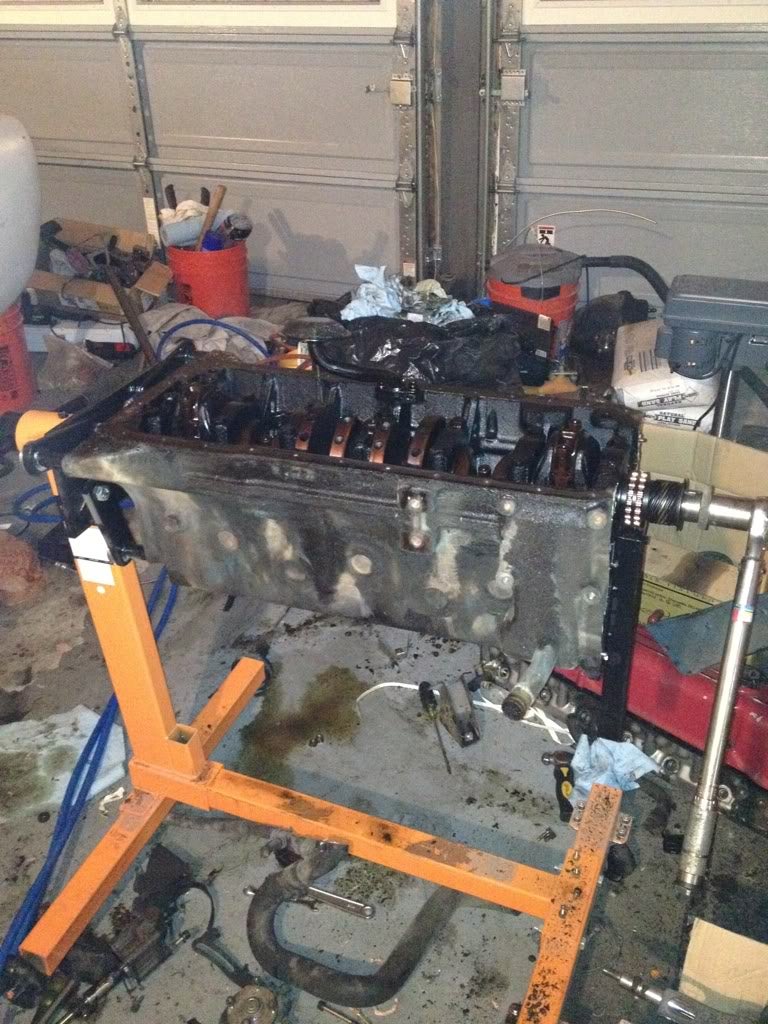
That meant the bottom end could go up on the stand for disassembly.
A little aside here. The previous owner had told me the motor smoked oil, but ran. I knew it was most likely piston rings and had decided to rebuild it. If you are unsure of where the problem lies in the motor, figure it out. Taking a motor apart just because is really unwise. You want to run a compression test and a wet compression test along with a thurough check of the coolant and oil along with a head gasket inspection to find out where your fault lies so it can be addressed. I was told rings so I was going for rings. I did not follow my own advice, you really should.
Ahem, with that out of the way, I decided to reuse the pistons and rods as they seemed to be in really good shape. Some carb cleaner to get rid of the majority of the oil stains ad we were looking much better.
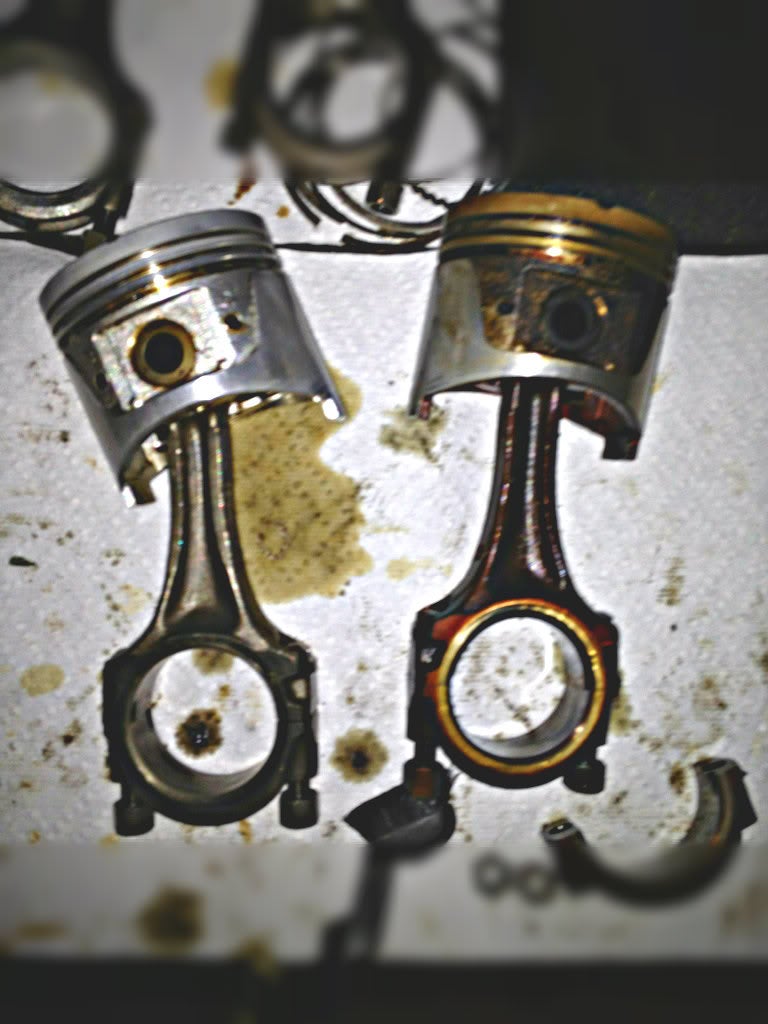
After and before respectively, the stuff really does wonders. The hardware was cleaned and rusty looking ones were left in evapo-rust over night. That stuff does wonders!
The block was sent off for some cleaning and de-glazing of the cylinders. It passed sonication and inspection for cracks with a good flat deck. Unfortunately the shop did not include freeze plug instillation in their service so I had to source those myself.
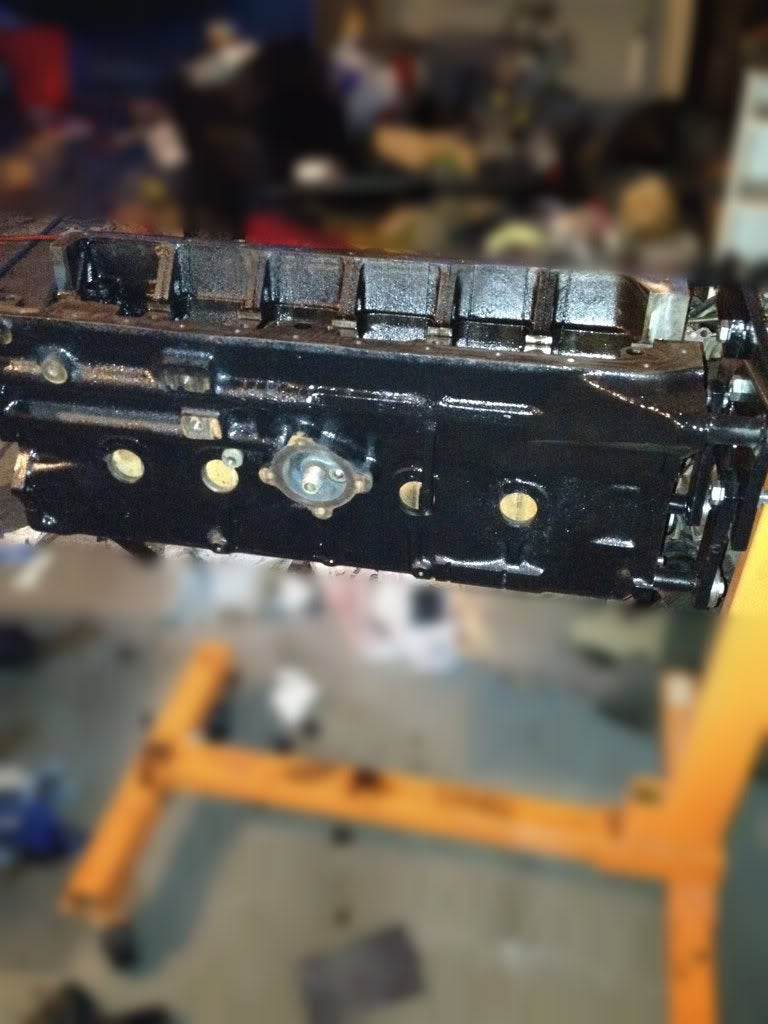
Donít paint your engine block black...it really is a dumb idea.
There is a neat little method of getting the rings on. I have it in video format so it may not be up by the time this is posted. It consists of resting the outer edge of the ring in a groove then pulling the ring over and swinging it around. Video will be very good for this, possible future edit.

New bearings were ordered and installed along with the pistons and the new rings, they are slid in from the top using a piston ring compressor and tightened from the bottom.
The pistons arenít actually as pitted as they appear, that was just some oil deposits that refused to come off, and I wanted to avoid scuffing/scratching as possible.
I had ordered a gasket kit online and found that to be woefully inadequate.
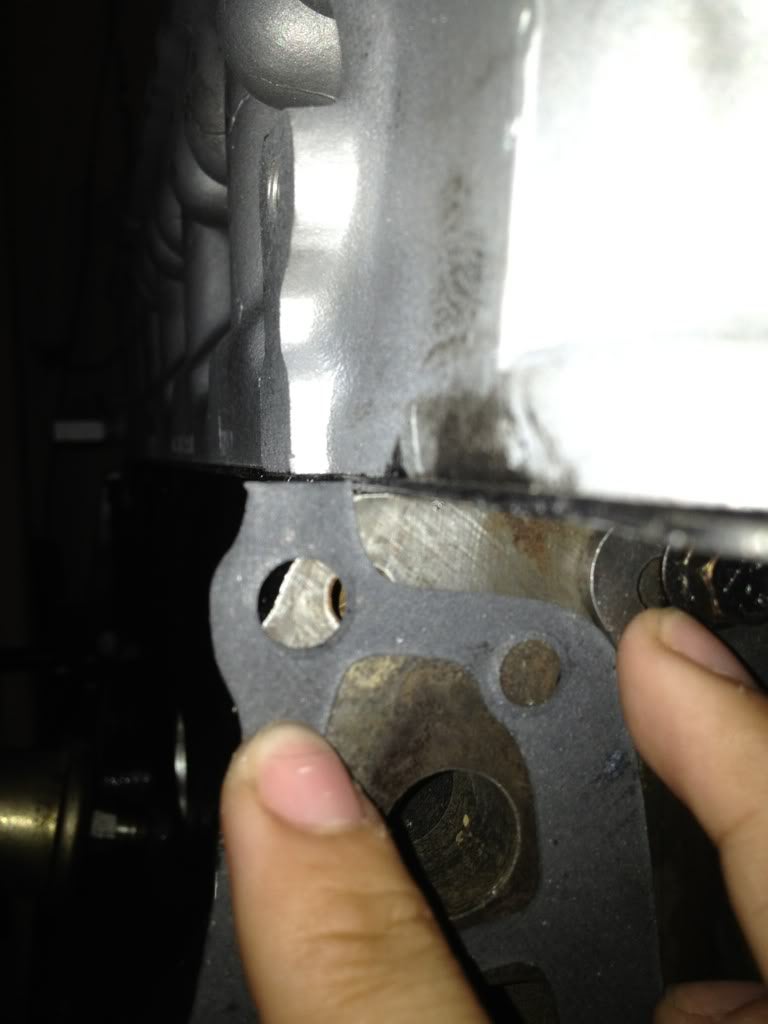
Several of the gaskets were either too tall or the holes were punched off center
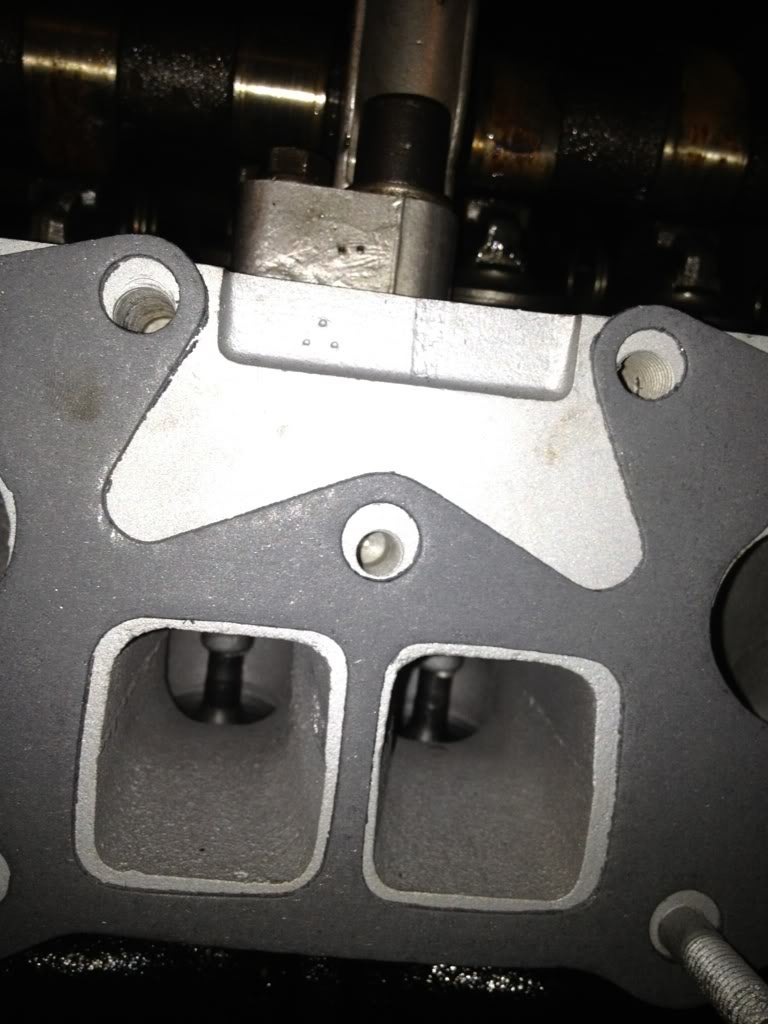
Quite a bit of time was spent with a hole punch, exacto knife, and scissors to correct them.
The head also came back from the machine shop and was installed along with a new timing set.
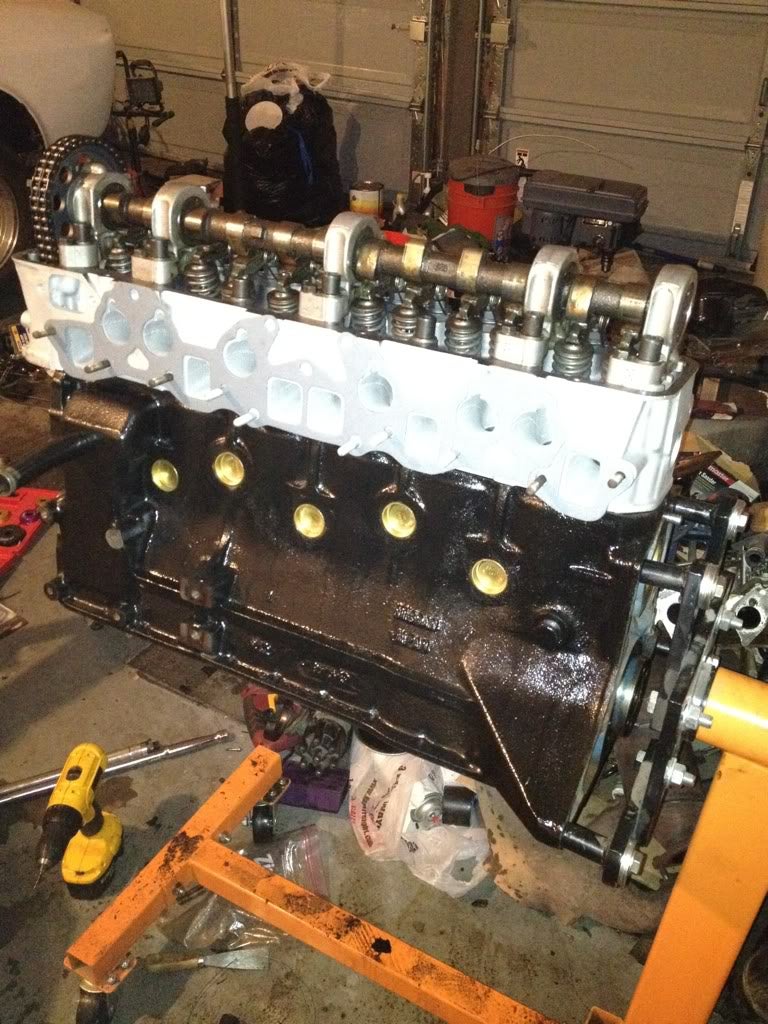
The cam has to be held with a pipe wrench while you torque the timing gear bolt, quite a weird sensation. There also is a myth that the cam towers have to be line honed with the cam. Upon much researching and experience from engine rebuilders, this is not the case with this engine. As long as you did not have a banana shaped cam, one can reinstall the cam towers and slide the cam in with little to no problem.
Note the balling bronze freeze plugs :). They were tapped in and dimpled along with the help of RTV to seal any pinhole leaks.
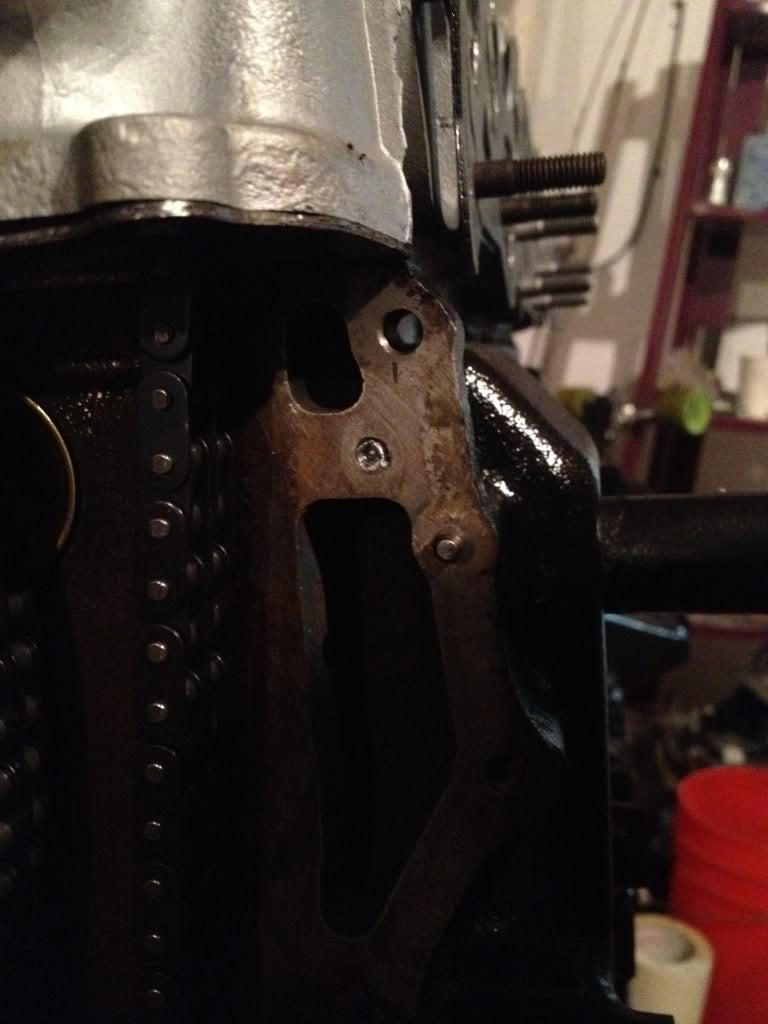
Given its age, the motor did put up a fight. Several of the bolts snapped on removal, and even more snapped on reinstall. The bolt extractor kit paid for itself several times over.
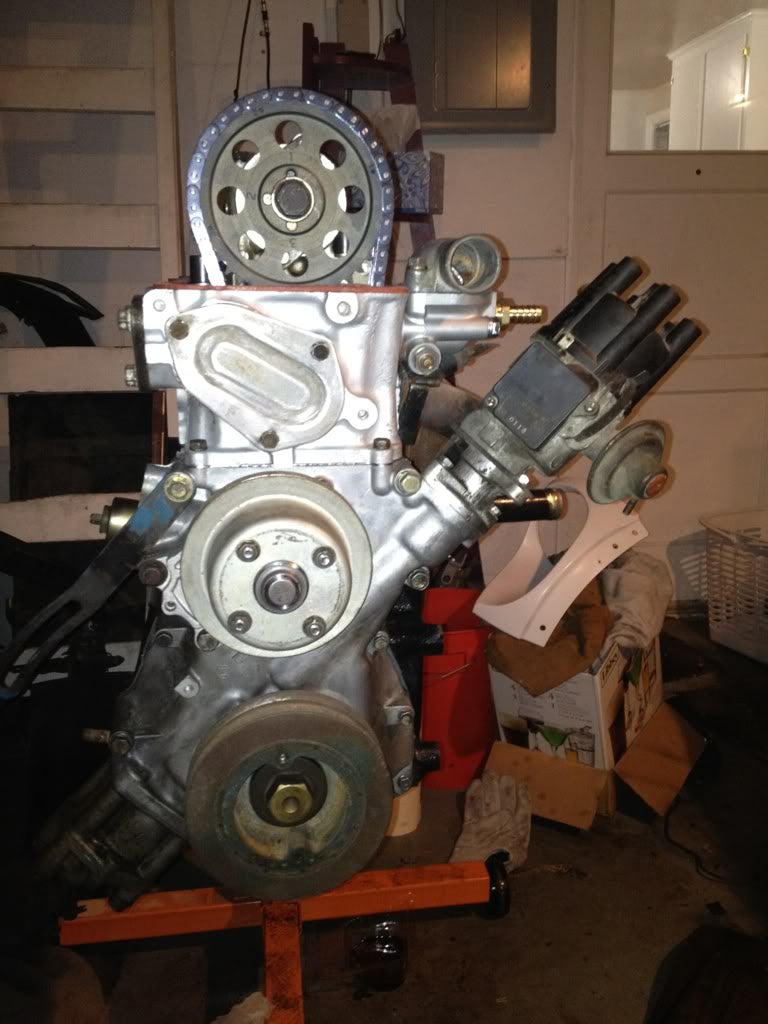
The front pulley along with the distributor and oil pump found its way home. The bolts in the thermostat housing had seized and fused itself to aluminum and refused to come out so I had to order a used one online along with a new thermostat.
Then came on the valve cover and the headers, painted in ceramic white <- another dumb idea.
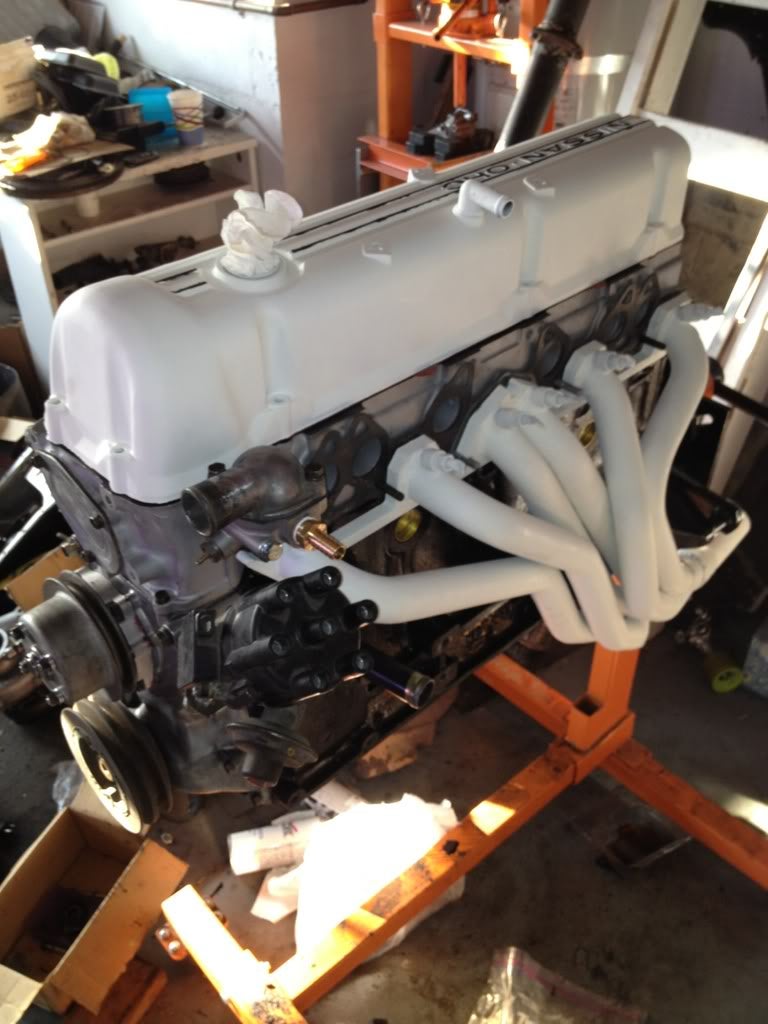
The fuel rail along with the carbs then went on to cover the all the prettiness.
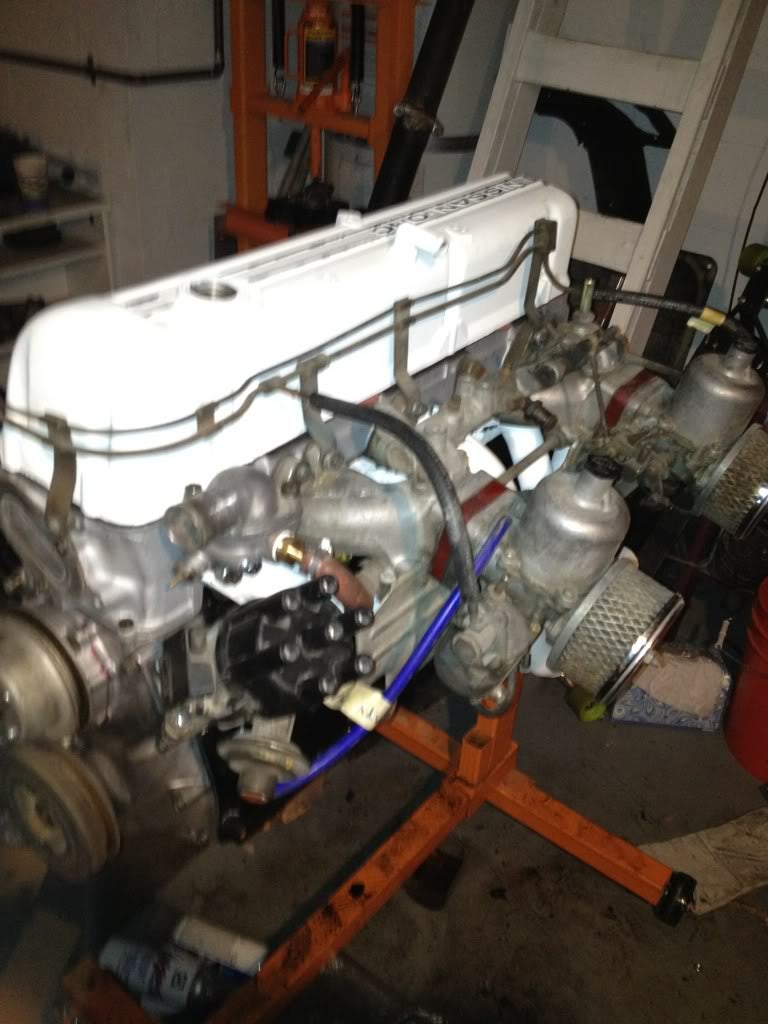
There is a reason for a lack of pictures here. I actually took some advice on the internet and ordered all the parts I would need ahead of time and spent the 3 days the block and head were away cleaning parts. The motor was torn down for less then 10 days if I remember (finally starting to learn :D)
Things I learned:
Buy a book on how to rebuild the engine.
Donít paint your engine black...you wonít be able to find leaks later
Donít paint your valve cover ceramic white, it absorbs finger prints and dirt like no other
Donít buy the 3 wheeled engine stand, they tip over if you look at them funny.
Donít soda blast on your lawn, baking soda will kill all plant life for weeks.
Donít take your entire block to a machine shop. Take either the block or the head, the turn around is much quicker.
Donít buy the cheapest gasket kit you can find, their is a reason why they are so dirt cheap.
Invest in a good torque wrench, and have a check sheet so you know which bolts you torqued, the last thing you need to worry about is if you torqued the rod bolt to spec after the engine is fully assembled.
Carb cleaner really helps clean off the oil stains on parts.
Evapo-rust is crazy amazing. I threw in bolts I was sure I had to throw away and they came out looking like new.
If you have a solution you want to use but an add shaped part, fill up the space with non reactive material like clean bolts and washers, that way you donít have to buy several gallons to cover an odd shaped part.
Costs:
250 - head work, valve regrind, decking, cleaning
200 - block work, inspection, sonicating, cleaning, de-glazing
50 - gasket kit
100 - timing chain set
75 - paint
20 - freeze plugs
150 - rod bearing, crank bearing, piston rings
50 - misc hardware and fittings
100 - torque wrench, piston compressor, timing chain tensioner
30 - water pump
50 - new thermostat and housing
Subtotal: 1075
Total spent: 8820
!!! UNKNOWN CONTENT TYPE !!!
!!! UNKNOWN CONTENT TYPE !!!
 nlzmo400r
> StudyStudyStudy
04/30/2015 at 14:26 |
|
Looking good! Looks like a sweetheart of an engine to work on too.
 MonkeePuzzle
> StudyStudyStudy
04/30/2015 at 14:31 |
|
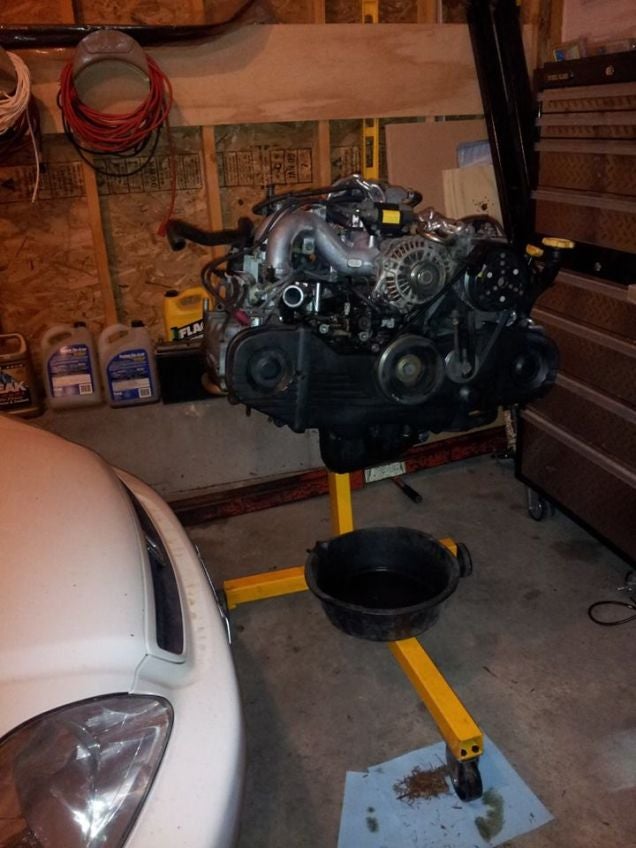
you appear to have a 4 wheeled engine stand.
while I agree with you about the 3 wheeled variety, did you actually buy two engine stands?
 StudyStudyStudy
> nlzmo400r
04/30/2015 at 14:32 |
|
Totally, no complicated things whatsoever and very few hiccups possible. The how to rebuild your datsun OHC engine book is a step by step picture book as well.
 StudyStudyStudy
> MonkeePuzzle
04/30/2015 at 14:33 |
|
Actually I got lucky on that one. A friend bought a 3 wheeled one and tipped his before I bought mine, so I knew what was up. One of the few things I learned without having to do it myself.
 catkam623 misses his 944
> StudyStudyStudy
04/30/2015 at 14:45 |
|
Quite enjoying this build series. What does the car look like now?
 MonkeePuzzle
> StudyStudyStudy
04/30/2015 at 15:02 |
|
I borrowed a free three wheeler... I ALMOST tipped over on my when wheeling it across the crack in the garageís concrete floor
but, free, so yay :D
 StudyStudyStudy
> catkam623 misses his 944
04/30/2015 at 15:04 |
|
Thanks, it has been nice to finally put all this together. When I was actually building it I jumped around a lot so it wasnít as coherent.
Right now, it is quite a bit dirtier, a bit lower, and with different wheels. For the most part it looks as it is. Iíll be releasing the glamour shots or my poor attempt at them tomorrow or maybe next monday.
 StudyStudyStudy
> MonkeePuzzle
04/30/2015 at 15:08 |
|
My friend tipped his, then he wanted to move it to the basement so he built two ramps. When we got to it I just stared at him and pointed out how there is a wheel in the center. I think it tipped again there, but we caught it. He got a 4 wheel one later and I swore I would not get a 3 wheeled one. He offered his to me when I told him I was looking at buying one, I turned down free after seeing how much trouble he had with his.
 StudyStudyStudy
> MonkeePuzzle
04/30/2015 at 15:08 |
|
...is that a boxer engine in front of a honda?
 catkam623 misses his 944
> StudyStudyStudy
04/30/2015 at 15:09 |
|
Can't wait
 MonkeePuzzle
> StudyStudyStudy
04/30/2015 at 15:18 |
|
indeed.... is that wrong? :P
its the subaru engine for my then daily driver, sitting in front of my toy
 MonkeePuzzle
> StudyStudyStudy
04/30/2015 at 15:18 |
|
get it for free, weld on training wheels :D
 StudyStudyStudy
> MonkeePuzzle
04/30/2015 at 16:05 |
|
I was imagining some crazy swap scenario. Disregard lol
 StudyStudyStudy
> MonkeePuzzle
04/30/2015 at 16:06 |
|
True, I guess I didnít want his ďstand that fell over,Ē he tried giving it to my other friend a while back, he too declined and said ďisnít that the one that fell over?Ē Superstition I guess.
 MonkeePuzzle
> StudyStudyStudy
04/30/2015 at 16:12 |
|
like I didnt think that myself. AWD civic, sounds awesome
 RustedSprinter
> StudyStudyStudy
04/30/2015 at 17:15 |
|
Are you going to paint the valve cover red?
 StudyStudyStudy
> RustedSprinter
04/30/2015 at 17:56 |
|
It actually was originally red when it came to me. I wasnít a big fan though.
 RustedSprinter
> StudyStudyStudy
04/30/2015 at 18:20 |
|
Paint it black then!!
 StudyStudyStudy
> RustedSprinter
04/30/2015 at 19:04 |
|
I did...ish... coming soon :)
 TxBrumski
> StudyStudyStudy
05/01/2015 at 16:07 |
|
Thatís downright pretty.
 StudyStudyStudy
> TxBrumski
05/01/2015 at 16:30 |
|
Unfortunately they didnít last very long :(
 RustedSprinter
> StudyStudyStudy
05/01/2015 at 16:43 |
|
Paint the whole engine block black too!
 TxBrumski
> StudyStudyStudy
05/01/2015 at 17:42 |
|
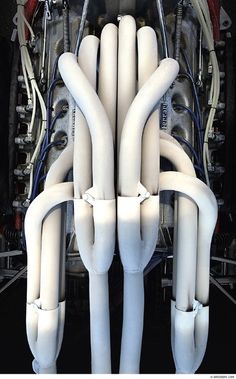
Still looked damn good in the beginning. Has a real old-school F1 look to it!
 StudyStudyStudy
> TxBrumski
05/01/2015 at 17:50 |
|
It was ceramic and supposed to last, but the moment they got wet it just flaked off like crazy. That exhaust looks great though.
 BaconSandwich is tasty.
> StudyStudyStudy
05/01/2015 at 23:06 |
|
Iím curious - how long did the entire teardown/rebuild of the entire car take?
 StudyStudyStudy
> BaconSandwich is tasty.
05/04/2015 at 00:40 |
|
2 years? I think until it was driving again.